Create a professional localhost with Ampps
The software that supports creating localhost named Ampps is not the first time I introduced it on thachpham.com, but I have introduced it a long time ago, but at that time Ampps was not very complete, so there was a development. generates some errors on Windows. And after nearly 2 years since I didn't introduce Ampps anymore, I decided to introduce it again because after 2 years I still use it every day, I have used Ampps on all 3 operating systems, Windows. , Mac and Linux (Ubuntu and Linux Mint) all work great with no problems, and now it has improved a lot so it works very stable, sometimes more stable than XAMPP.
If you plan to install Ampps, please remove all other localhost software from your computer to make sure you don't get conflicting errors. Remember to backup data on your important localhost websites before deleting.
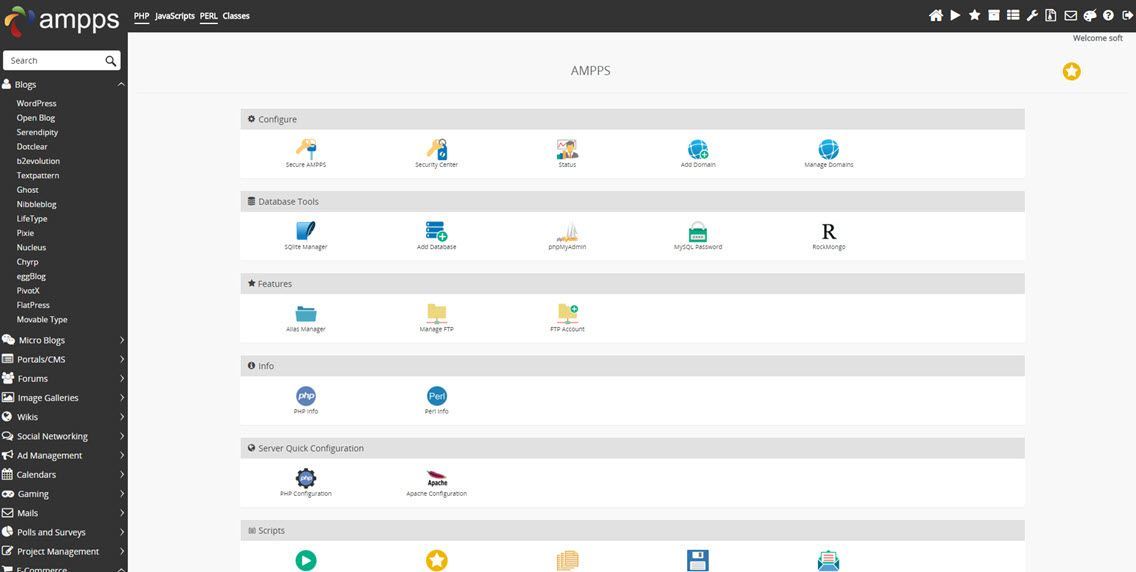
Ampps control panel
So why do I prefer using Ampps?
There are dozens of reasons for me to say that Ampps is better than XAMPP. You can see on my blog that when localhost instructions bring XAMPP out, it's simple, it's easy to use, doesn't have many functions that cause trouble for newbies, but I never have XAMPP installed on my machine, one is Ampps, the other is Vagrant .
Enough rambling, there are several reasons why I prefer using Ampps than because:
MongoDB support.
Always update phpMyAdmin and MySQL to the latest versions. The situation that the two versions of MySQL and phpMyAdmin do not "match" with each other easily cause you to get SQL errors when creating a database or importing a database, the latest XAMPP version is a typical example.
Support to add virtual domain to localhost quickly, just like you add a domain to the host, it automatically edits the hosts file on your computer.
Create multiple FTP accounts for localhost.
There is a localhost data backup tool.
Supports many different PHP versions, easy PHP module management and easy PHP configuration editing.
Manage Apache modules easily through the control panel.
And importantly, supports the automatic installation of hundreds of different Softaculous source codes. I don't know how much time I have saved when working on localhost through this feature.
Supports many different operating systems/platforms.
And it can even be used as a web server because it has all the standard features.
Instructions for installing Ampps
Prepare to use Windows
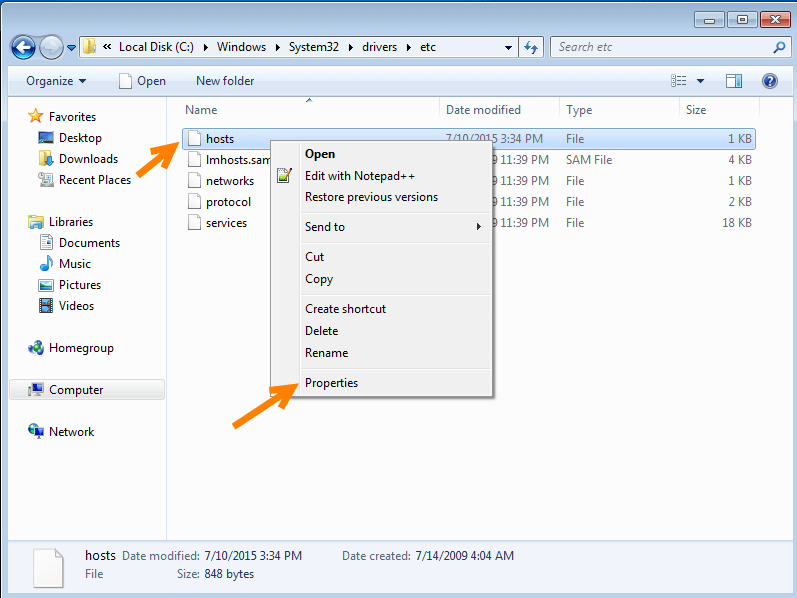
If you are using Windows, make sure the file C:\Windows\system32\drive\etc\hostsis authorized to edit. Go to the folder C:\Windows\system32\drive\etc\ and right click on the hosts file and select Properties .
Then you select the Security tab , press the Edit button to edit permissions, select the User section and tick Full Control . Then press Ok to save the whole thing.
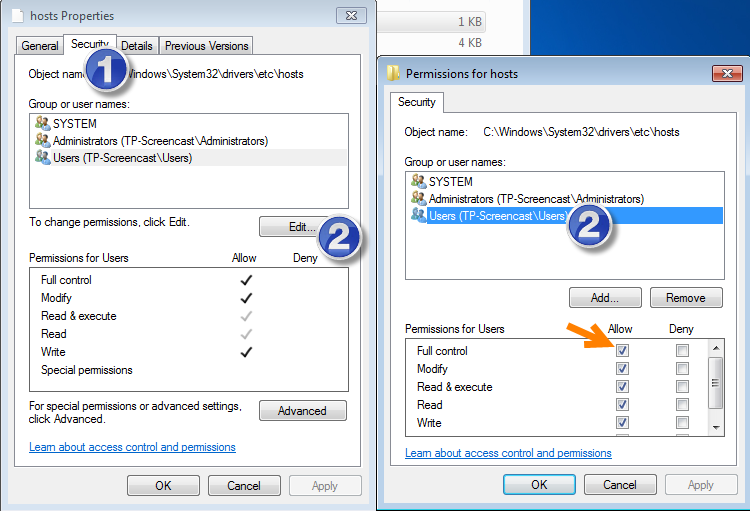
Accomplished. The purpose of this is so that Ampps can edit the hosts file when you add virtual domains. On Mac or Linux, it already uses sudo privileges, so it doesn't need it.
Ampps Settings
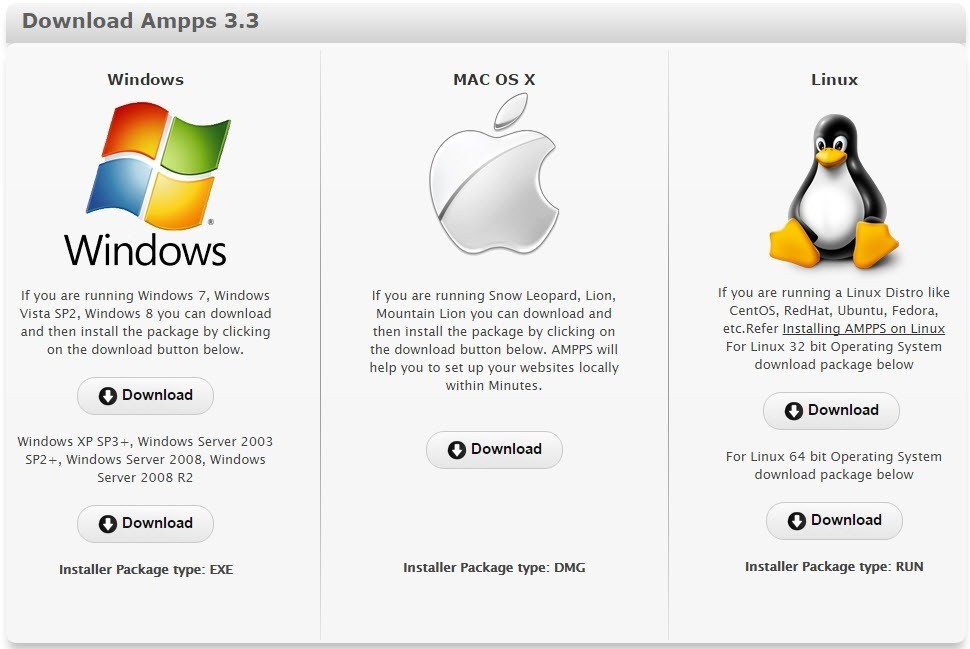
You visit the page http://ampps.com/download and select the version suitable for the operating system you are using. The installation package is a bit large, about 160MB.
download-ampps
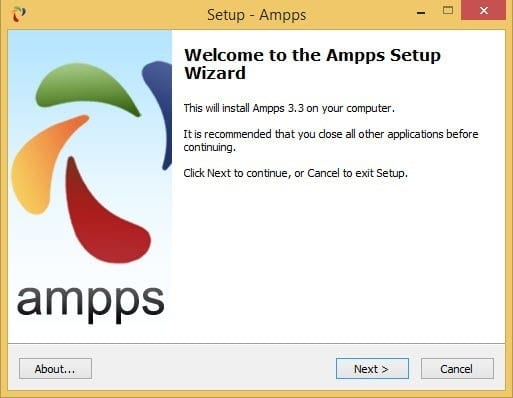
Then run the downloaded file and install it like a normal software installation.
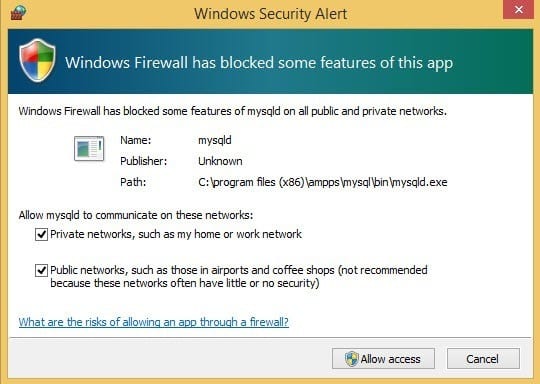
After the installation is complete you can open the software and start Apache and MySQL. And if it asks to grant software access to the firewall, you should select both as shown and then select Allow access .
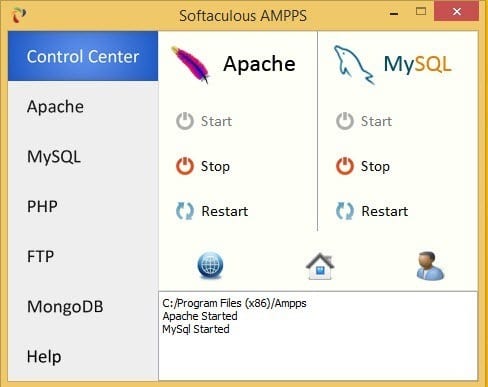
After starting Apache and MySQL it should look like this.
And to get to the dashboard, you can either click on the house icon or go to http://localhost/ampps.
Set root password for MySQL
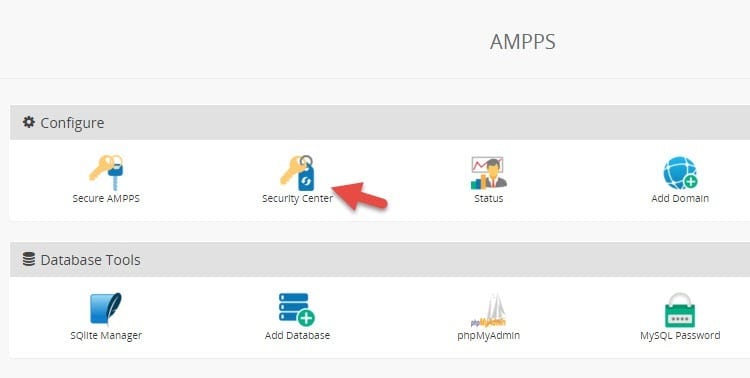
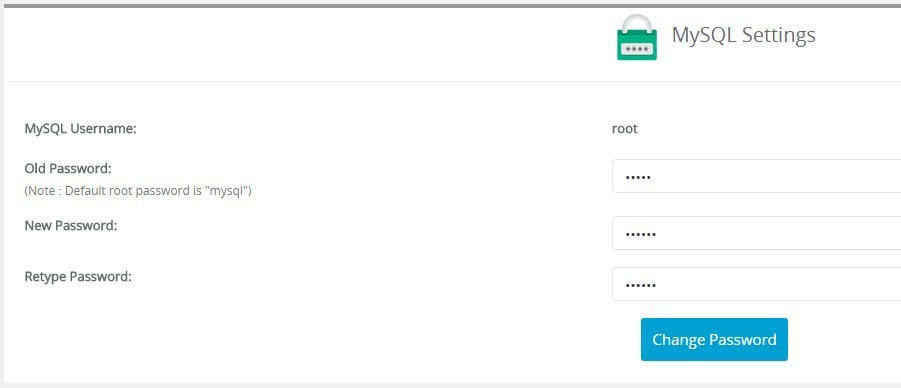
If you want to use MySQL's root account to work, its default password is mysql. But you can change it back by going to the control panel, selecting Security Center .
Select Change MySQL root Password and set a new password for root. In the Old Password section, enter the old password as mysql.
Add a virtual domain to Ampps
To add a virtual domain, go to the Add Domain section in the control panel and add it. The virtual domain name you should set is not the same as any other website, I often choose abc.dev domain name for it "style".
After adding, you access the newly added domain name in the browser, if it displays as shown below or similar below, it is added correctly.
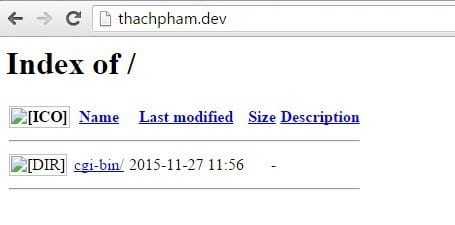
In case you can't access it after adding the domain name, it's because the hosts file can't fix it by itself. Please declare the domain name for localhost after adding it by going in C:\Windows\System32\drive\etcand opening the hosts file with the structure.
127.0.0.1 thachpham.com
Replace thachpham.com with the domain name you just added.
Automatically install a source code
If you need to automatically install WordPress , Drupal, Magento, ... to your website at localhost, then go back to the Ampps dashboard and select the source code in the left hand column. Then go to Install and install.
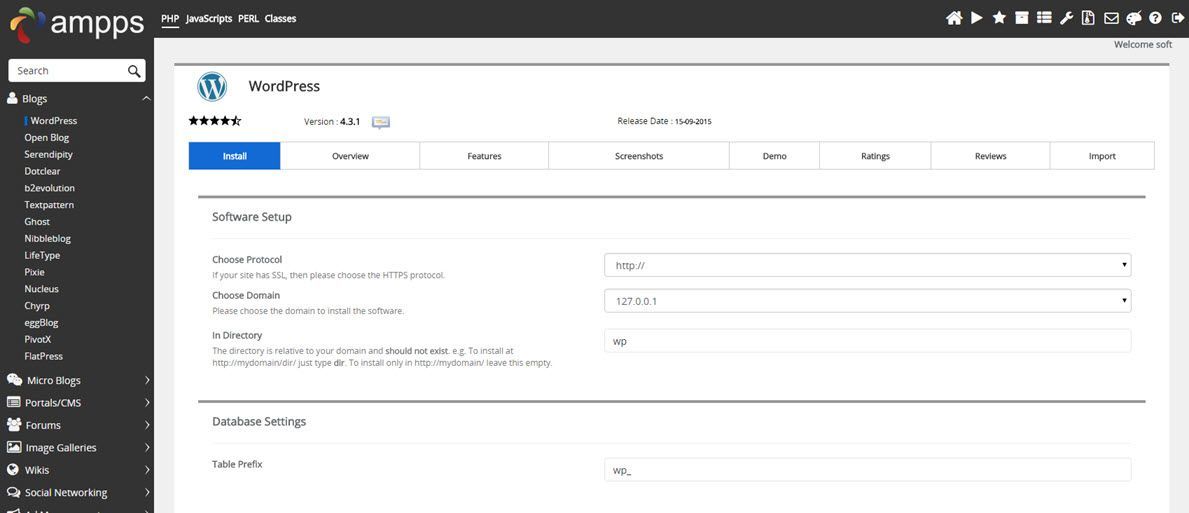
Note the In Directory section , if you need to install to the root of the domain name, delete it. For example, by default to install WordPress, it will declare wpthat you will access the website with the path http://domain.dev/wp/.
Create database
To create a database in Ampps, go to the control panel, select Add Database .
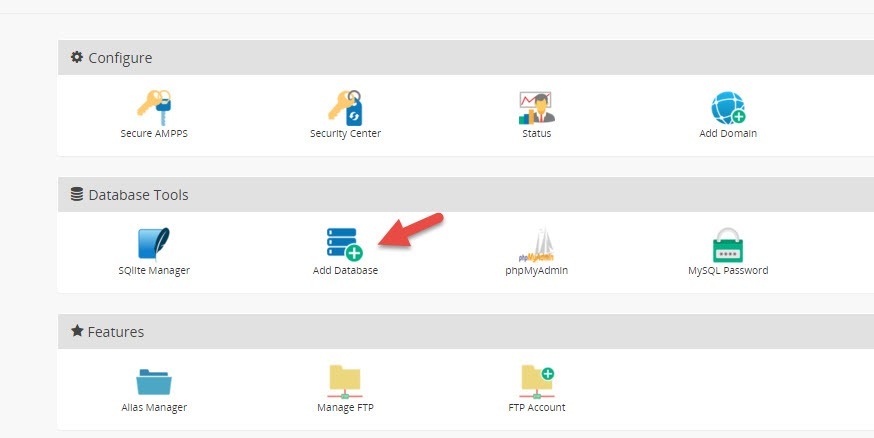
And enter the name of the database to create to create.
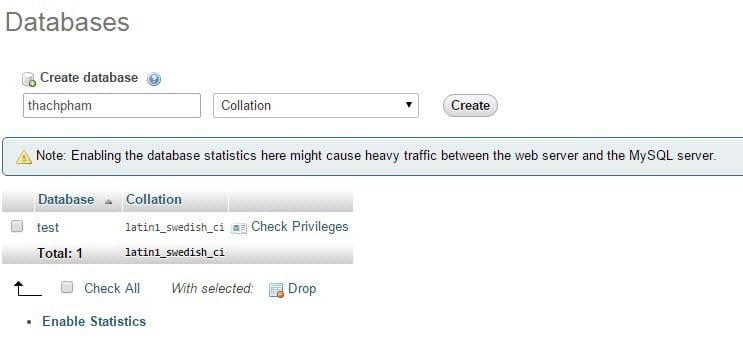
Once created, your database access information will look like this:
Database Host: localhost, of course.
Database Name: The name of the newly created database.
Database Users:root
Databse Password: The MySQL root password you changed above, the default is mysql.
Epilogue
So through the above article, you must also see how Ampps is very convenient to use, all functions are the same as normal localhost (maybe a bit redundant to say) so how to use it with operations like switching Websites about this localhost do the same thing. Hopefully after this introduction, you will experience Ampps and feel it is worth it to replace the current standard localhost generator applications.