3 ways to embed Facebook Messenger chat in WordPress website
Why do you need to embed Facebook Messenger chat in your WordPress website?
Embedding Facebook Messenger chat in WordPress web will bring outstanding profits for users, especially online sales business.

Advantages:
Completely free: installation is free.
Beautiful interface, compact, support Vietnamese. Development on the familiar Facebook platform should not cause difficulties for users.
Increase Like and interaction for Fanpage: fast and timely support will make a good impression on customers on Facebook, creating effects for the business's communication channel.
Easy user management.
High convenience, wide coverage. Most users have a Facebook account.
Promote products and brands better.
Defect:
In the event of an international connection failure, the site speed may be slow.
You do not know what products customers are viewing, what products have been viewed. While Zopim chat has this ability.
3 ways to embed Facebook Messenger chat in WordPress website
Method 1: Integrate Facebook Messenger with WordPress plugin
This is the simplest and fastest way for you to have a Messenger chat framework without much technical expertise. Step 1: Install the Messenger customer chat plugin on WordPress.
Step 2: You select Active to activate the plugin. Then in the admin menu, you choose Customer Chat => Setup Customer Chat .

Step 3: You log in, select the Fanpage to connect to the Website and select Continue -> continue on the new page.
Step 4 : This is the time when you install the basic Facebook Messenger chat frame: choose the language, change the default greeting as you like. In particular, you can choose the color of the chat frame according to the website brand color. Just click on the color dot (hex color code) and you're done! Don't be too impatient, wait a few seconds for the system to save your changes!

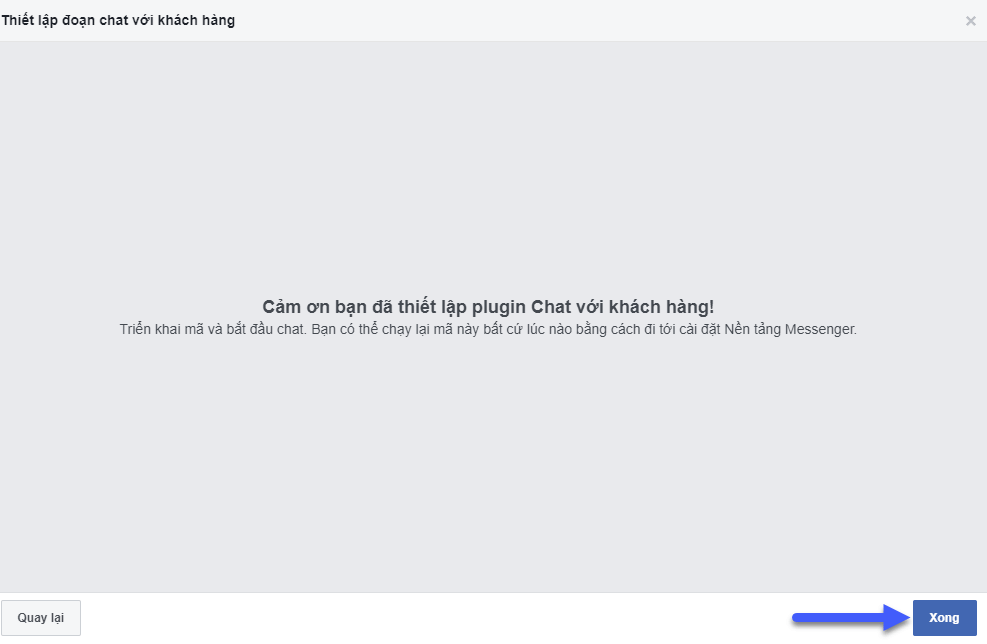
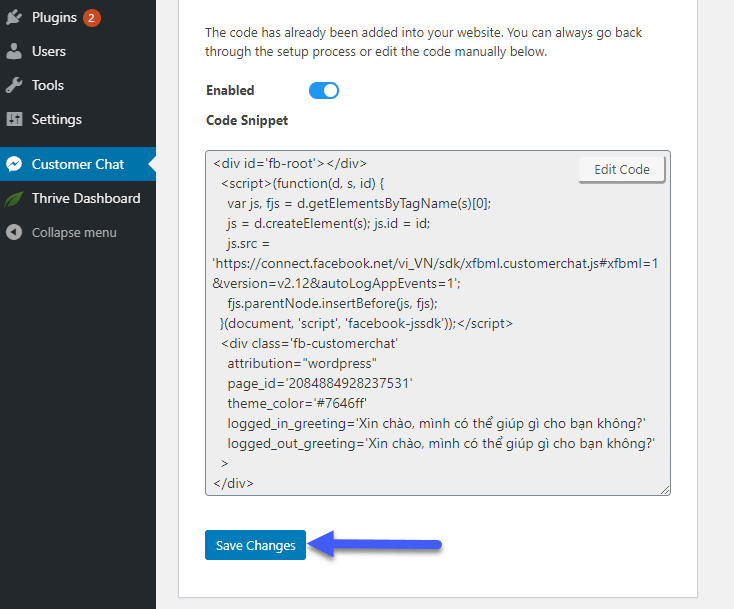
The installation is successful, the system will send you a notification, click “Done” to complete the installation process. Simultaneously, a new code will be inserted Website, n aggression Save Changes to start the Facebook Messenger integrates into WordPress Website.

Method 2: Manually configure and paste the code
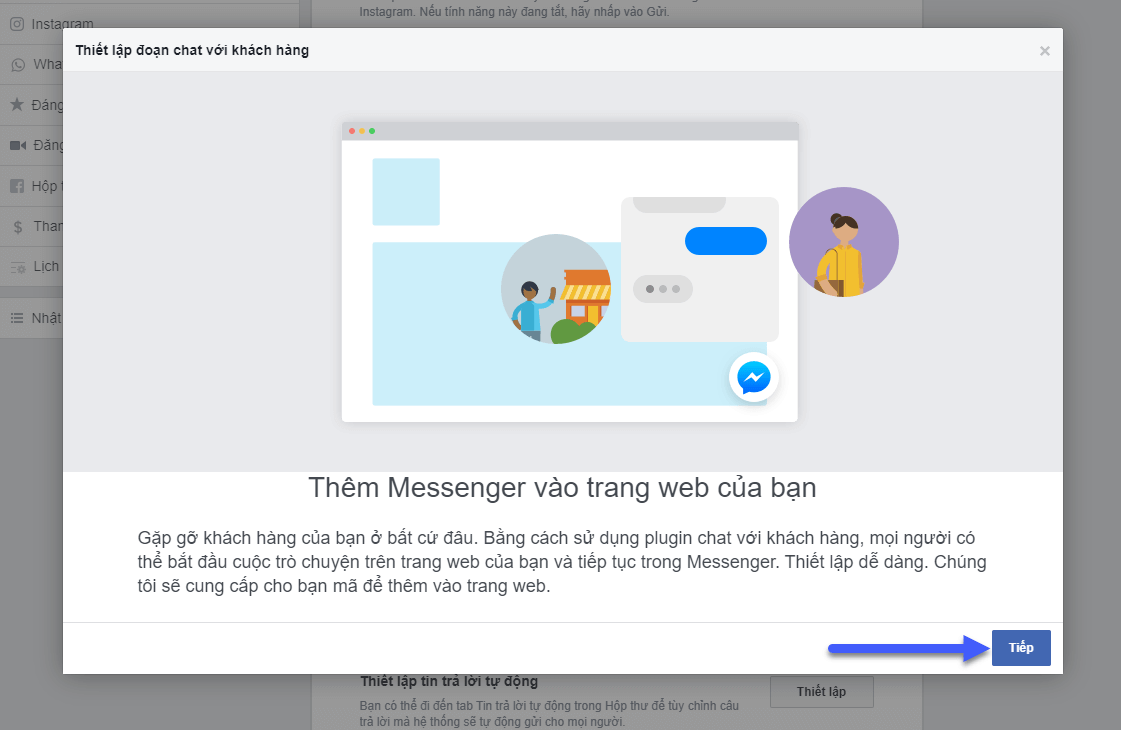
Usually, users often install plugins into WordPress for ease of use. However, if you are afraid that installing many plugins will make your website heavy and slow, you should choose a manual installation solution. Step 1: You go to the main interface of the Fanpage to connect Messenger chat with the Website, then select the Settings tab. Step 2: You continue to select N he believes Then, you scroll down to find the item "add Messenger to the Web" => "Get started". You continue n aggression "Next" to get to the next step.

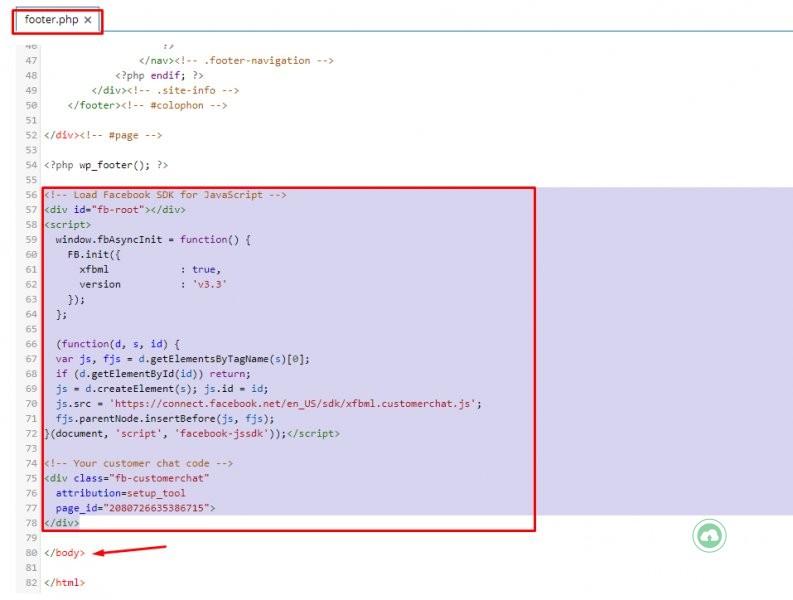
Similar to method 1, here, you can choose the language, change the greeting, choose the color for the chat, .... Add the domain name of the website where you want to install Live chat and click Save. Step 3: Select “I will install the code myself” . Step 4: Copy the entire script and insert it into the footer tag pair of the website interface. Step 5: Insert the Facebook chat script code into the website. For the WordPress source code, you can insert this code above the closing </body> tag of the footer.php file located in the theme directory.

Method 3: Using Chatbot
In addition to the above two ways, you can use the way to integrate Facebook Messenger into your website using your company's chatbot platform .
Good luck embedding Facebook Messenger chat in your WordPress website!
FAQs when embedding Facebook Messenger chat in WordPress website
What are the conditions to reach customers in this way?
Your customers must have a Facebook account and must be logged into Facebook to be able to chat with you.
How should I create a greeting?
A good greeting will make a good impression and inspire customers to chat. Investing in a unique greeting is one of the simplest ways to reach customers. Eg:
Hi! What can TinoHost do for you?
Hello, what can TinoHost do for you?
Do you need advice? Don't hesitate to leave us a message!
For any questions and related comments, please contact TinoHost immediately for detailed advice or Fanpage to update the latest information!