The latest way to export LadiPage to WordPress for free 2021
Although you have learned and implemented a Landing Page on the LadiPage platform, you have a little trouble because you do not know how to export LadiPage to WordPress? So don't miss this article, because Tino Group will show you how to export LadiPage to WordPress for free!
Learn about LadiPage
If you are already using LadiPage, you can skip the learning about LadiPage section and see the tutorial on how to export LadiPage to WordPress. In case you are learning or you are wondering whether to use the LadiPage platform or not, you should read through this introduction!
What is LadiPage?
LadiPage is a platform to help build and design Landing Pages to optimize the conversion of your viewers into customers. If you've used page builders before , you'll be very familiar with the transition to LadiPage.
With simple drag and drop operations and lots of function blocks, pre-designed templates, LadiPage will definitely bring you a free but extremely beautiful Landing Page !

Why use LadiPage?
LadiPage is completely free!
The LadiPage platform comes packed with a ton of tools so you can optimize and convert your visitors.
Extremely simple design with just drag and drop of function blocks
Thousands of Landing Page templates are completely free for you to use right away
No need to know coding, you can also create an account and build a website in just 5 minutes.
Support measurement software and services such as: Facebook, Google Analytics , Google Ads, TikTok, ...
Connects to many other platforms such as: WordPress , Haravan, Shopify, etc.
Constantly updating new technology but not increasing the price
Why should I export LadiPage to WordPress?
You will be able to use 1 domain name for both WordPress and Landing Pages created with LadiPage.
Use all of LadiPage's support to convert sales for the Landing Page you've created.
No need to recreate the Landing Page with the LadiPage Builder plugin.
Using an API connection and using LadiPage's resources, you won't have to waste resources on your server .
With so many benefits, do you want to implement LadiPage export to WordPress? If so, let's start publishing right away!
Instructions on how to export LadiPage to WordPress
Register for an account LadiPage
To be able to use LadiPage, you will need a LadiPage account. Creating a LadiPage account is very simple, you just need to follow these steps:
Step 1 : access the homepage of LadiPage and click register for an account.
Step 2 : Enter the account information you want to create or use associated with social networking accounts such as Facebook or Google.

Step 3: Verify email and start using.
Using the LadiPage platform is extremely simple, if you want to learn more about how to create a Landing Page with LadiPage, you can refer to Tino Group's full article How to use LadiPage.vn effectively !

Download LadiPage plugin on WordPress
Once you have an account and you have created a LadiPage, we will come to the most important part: how to export LadiPage to WordPress. Publishing from LadiPage to WordPress is not difficult, you just need to prepare the following things:
Hosting to host WordPress.
The domain name has been pointed to hosting and you have the right to manage this domain name.
To download the LadiPage plugin and install it on your website, you will have 2 ways:
Method 1: Upload the LadiPage plugin
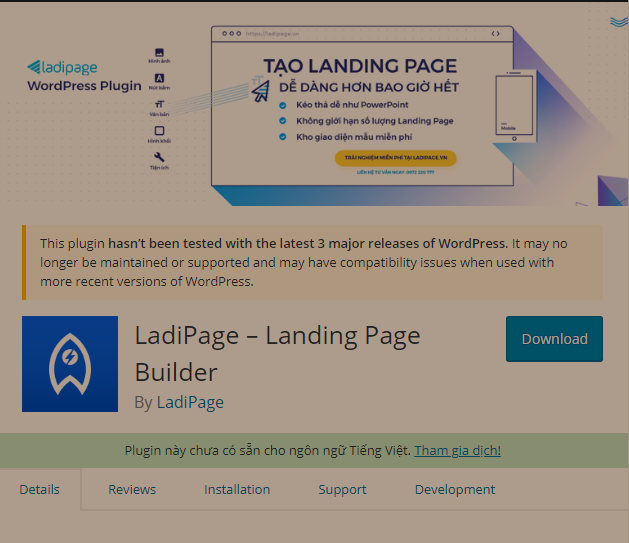
Step 1: visit the WordPress Plugin Directory page to find the LadiPage – Landing Page Builder plugin and then download it.
Step 2 : access WordPress Dashboard => Plugins.
Step 3: Click Add New => Upload Plugin, select the downloaded .zip plugin file to upload to your WordPress site.
Method 2: install LadiPage directly from the Plugins library
Step 1: you access WordPress Dashboard => Plugins => Add New
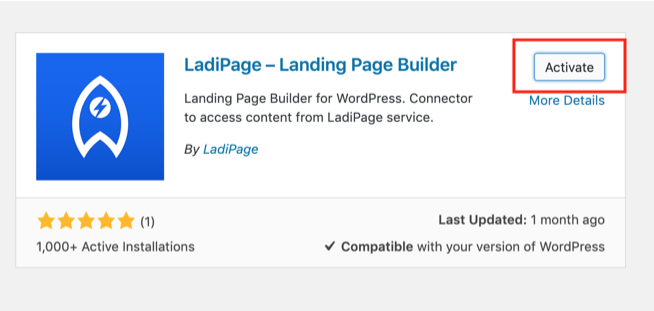
Step 2: find Plugin LadiPage – Landing Page Builder in the search bar and click Install/install => Active/Activate .
So our plugin installation is complete. Next, we will proceed to publish your Landing Page on LadiPage to the WordPress platform.
Connect LadiPage with WordPress
To connect LadiPage with WordPress, simply follow these steps:
Step 1: copy 2 contents including : API KEY and API URL.
Step 2: Click Save Changes right after you get the API to avoid the API being changed.
Step 3 : go back to LadiPage => access to Manage Domains => Create a new domain name.
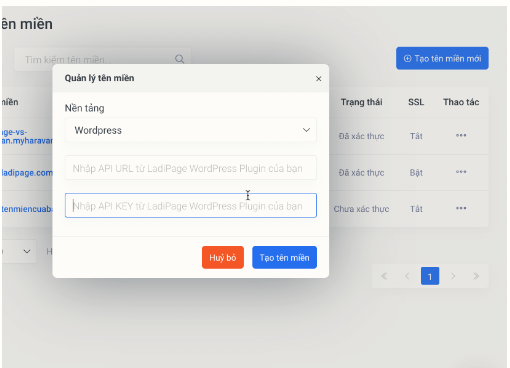
Step 4: You select the following information in the Domain Name Management window :
Platform: WordPress
Paste the API KEY and API URL you copied from WordPress here
Step 5 : Click Create domain name
So we have finished connecting LadiPage with WordPress.
Publish Landing Page to WordPress Platform
To publish a Landing Page to the WordPress platform, you will need to have knowledge of CNAME records, you can refer to the article: What is a Cname? How to use cname record . This knowledge will be essential for you to point your domain to LadiPage.
If you use LadiPage Pro version or higher, domain verification will also help remove the words Landing Page free pointing to LadiPage.
If you use other providers, you can refer to their instructions, In case you are a customer of Tino Group and have a domain name at Tino Group, you can point your domain name as follows:
Step 1 : Log in to My Tino
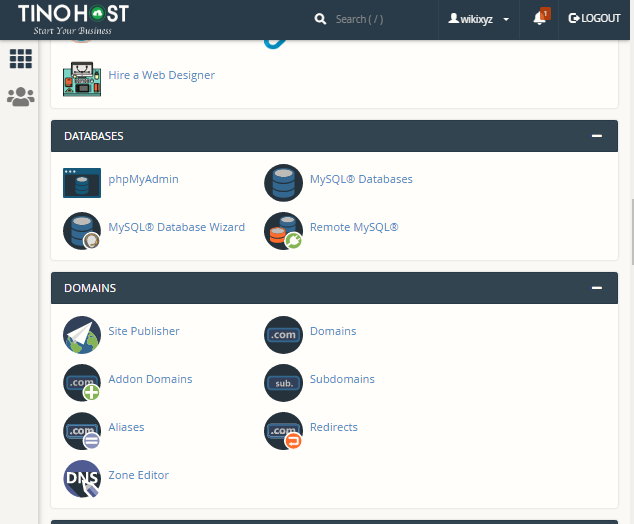
Step 2 : You choose to login to cPanel
Step 3: find the Domains => Zone Editor section.
Step 4: Find the domain you want to verify with LadiPage and click Shortcut +CNAME Record .
Next, you enter the following 2 information:
Name: LadiPageverify
CNAME: dns.LadiPage.com
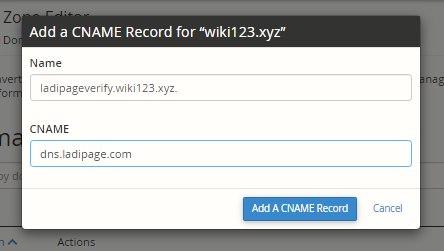
Step 5: Click the Add a name record button to save the newly created CNAME.
The time to point the CNAME to LadiPage will be quite long, at least 5 minutes - 3 hours. In the meantime, you can click on the Landing Page to review which items need to be edited or not.
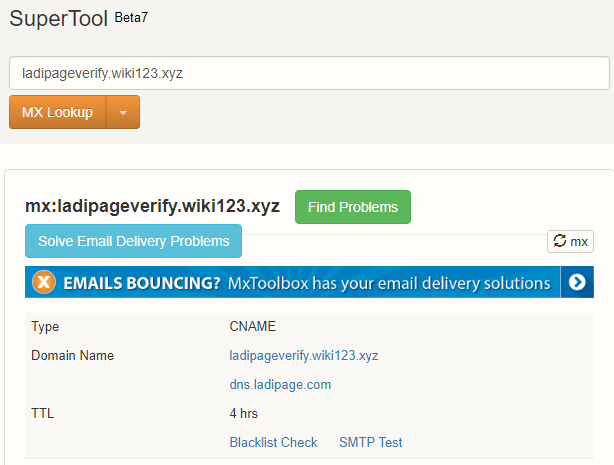
Step 6: after about 5 minutes, you can enter your domain name into the MXTOOLBOX page to check if the CNAME is pointed or not.
The domain name you enter has the form: LadiPageverify .tenmiencuaban.com. If MXTOOLBOX appears as shown in the image, you have successfully pointed.
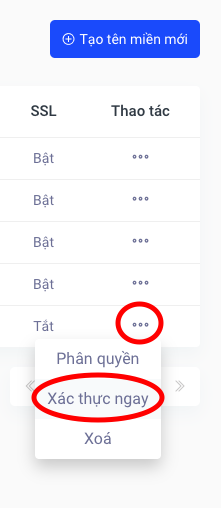
Step 7 : Go back to authentication by clicking on validate now button .
Step 8 : To publish a Landing Page, do the following:
Click Publish in the right toolbar in LadiPage Builder
Own domain name => Publish with own domain name.
Select the domain name just authenticated => Enter the Landing Page path (if any)
Click Publish again to publish LadiPage to WordPress. The process will take place immediately and you will be able to access your Landing Page.
So Tino Group has guided how to export LadiPage to WordPress from A - Z already! Hope that you will be able to successfully publish and make Landing Page campaign with the best profit!
FAQs on how to export LadiPage to WordPress
How to fix “LadiPage cannot send data through your website” error?
When an error occurs, you will see a key line , copy that key line and paste it into the LadiPage Key box in the plugin => Publish again.
Where is the LadiPage user manual?
To refer to LadiPage's documentation, visit Help LadiPage here!
Which unit provides professional website design services with reasonable price in Ho Chi Minh?
If you are looking for a professional website design service provider with reasonable price in Ho Chi Minh City, Webico is the unit that provides quality services, SEO standards with the best price. To learn more, visit Webico !
Where to buy cheap hosting?
If you are looking for a cheap hosting provider , student hosting , TinoHost is the cheap hosting provider with high quality that you are looking for. TinoHost gives you a cheap hosting service not equal to a loaf of egg bread from only 9k/month! Find out right here!